Showing posts with label MAC. Show all posts

Wednesday, December 7, 2011

Makeup 101: Contouring

    First off, many of you new to the makeup world might wonder, what is contouring?!

      Contouring is using a product (for purposes of my blog, i will just be using powder, but you can use liquids and creams for contouring as well!) to make desired areas look receded or shaded. The best example?...the hollows of your cheekbones.  Contouring  the hollows of your cheekbones makes your cheeks and face appear to look thinner. Yeah, I think this is pretty handy when you have chubby cheeks like me! ;]

What you need:
A medium size angle brush ( I'm using a Studio M Angle Brush from Meijer)
A small size angled brush ( for the nose contouring)
A matte bronzer that is 1-2 shades darker than your skin tone
To the right: NYC Smooth Skin Bronzing Face Power in 720A SUNNY-It's matte, found at drugstores and only like $3.00!


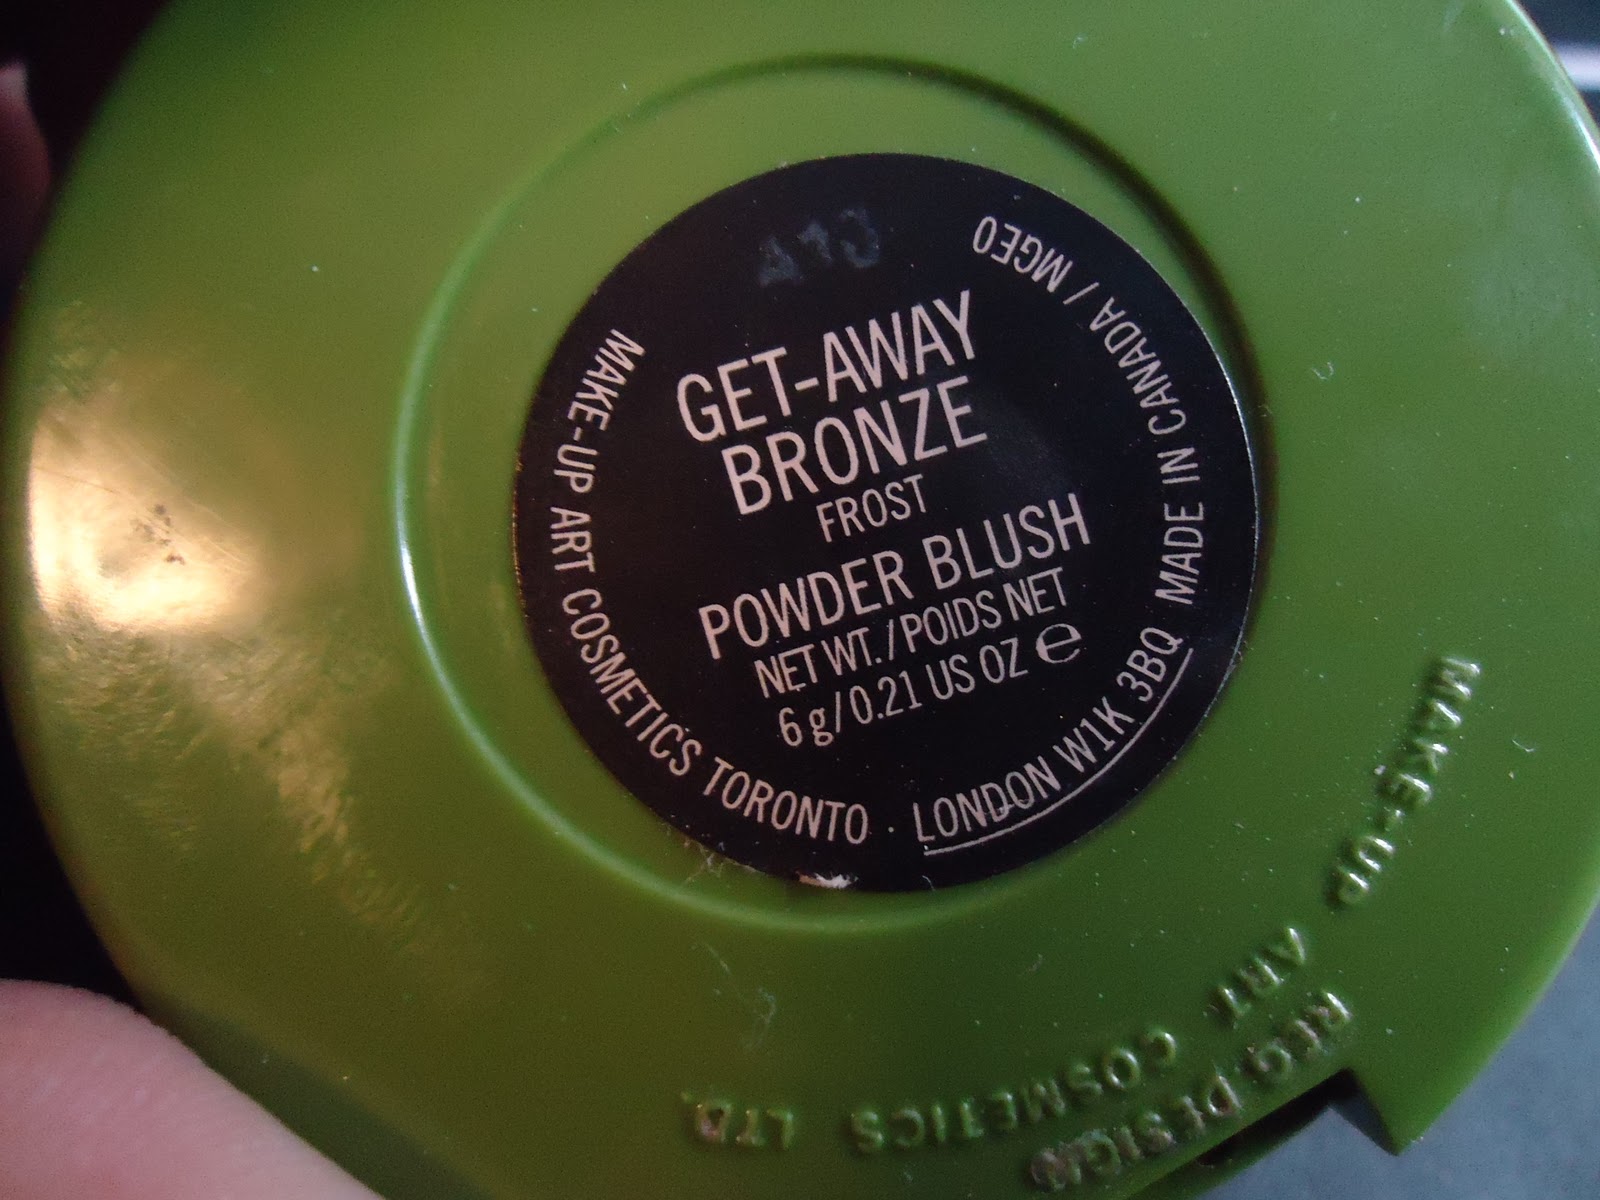
Get Away Bronze Blush from MAC's 2010 To the Beach

It's a frost so it's not super glittery, so you can still use it as a contour.


      There will be 5 areas we will be focusing on when contouring- cheeks, temples/forehead, jaw line, nose and lips.
Ooo. I look crazy! Mhaha.


1. Cheeks (GREEN!)

     Contouring the hollows of your cheekbones makes your face appear thinner and is quite simple.  Suck in your cheeks like a fishie and you'll see and can feel the area right below your cheek bone. That's the hollow and the part you'll want to contour! Get a bit of product on your brush and tap the excess off. (Don't attempt to blow the excess product off the brush because you might get spit on your brush and that's caca!)  Apply it starting from right in front of your ear moving the brush down in a diagonal line towards your lips but stop right below your pupil line (hold the tip of your index finger right in front of your pupil like you're pointing up, that's generally where your contour should stop.) Blend it out so there are no harsh lines.( If you're a visual learner like me, I will include a video link to a favorite beauty guru on Youtube who shows you via video, how to contour your face.)

2. Temples/Forehead (BLUE & RED!)

    Think you have a five-head or a wider forehead? Yep there's contouring for that!
Along the temples...take your brush with a bit product on the end (tap off excess!) and make a "C" kind of shape. (See the red lines). BLEND BLEND BLEND. This will help your forehead from looking too wide.
    If you think your hairline falls too far back and you don't have bangs (like me!), then maybe do a bit of forehead contouring (See blue lines). Apply just a little bit across your forehead closer to the line to make your hair line...less receding.

3.  Jawline (PINK!)

     If you have a double chin and would like to kinda chisel it away, you can use contouring to make your double chin disappear. Feel along your jaw line to find where your jaw bone is and that will give you an idea as to where to actually contour. Once you've found it, start brushing your contour on right along the jawline to your ear and focus some powder right below your chin as well. Make sure to blend any harsh lines out and use a light hand to apply any powder!

4. Nose (YELLOW!)

   Think your nose is too big? Contour it! Take a smaller brush, (doesn't necessarily have to be angled but it helps), start at the bridge of the nose and lightly brush down the left side then right side. Make sure you don't go too far down or it'll look funny.

5. Lip (BROWN!)

     Want your bottom lip to look fuller? I like to take an eyebrow pencil in a medium brown (instead of powder but that's just my preference) and draw and upside down triangle lightly, right in the middle of your lip. This will make it look like your lip is SO full that it casts its own shadow. Remember LIGHTLY or it will look like you got something on your face, and that's not cute!

Any questions, comments, or thoughts email me or leave me a comment!


P.S. Here's the video I recommend if you want a better description of contouring and even highlighting! Marlena is an amazing Youtube Beauty Guru, from Michigan and a professional makeup artist! Enjoy!  


How to Contour and Highlight your face-MakeupGeek

Tuesday, November 22, 2011

My Full Foundation Routine/Minimal Work Makeup Tutorial

        While getting ready for work today, I decided it would be a good idea to do a full foundation blog tutorial  for my blog, because everyone does their foundation differently and I've gotten a few compliments on my face makeup so why not do one?

         First, the night before I hydrate and lock in the moisture after cleansing my face.  I use Garnier Nutritioniste Moisture Rescue Lightweight UV-Lotion. It has SPF 15 in it and I find that it doesn't leave my face too greasy and moisturizes best. After applying the moisturizer, I apply  Vaseline Original Petroleum Jelly to the driest spots on my face. Not too much but enough to lock in the moisture. I only use Vaseline in the fall/winter months because I get patchy dry spots from the dry heat.


     The foundation I use is MAC's Studio Fix Fluid in NW 22. To apply this foundation I use my MAC 187 brush to give an airbrushed look. I swirl and buff the makeup onto my skin to evenly blend it out making sure not to forget to blend it down to my neckline.


      This foundation is medium coverage so it evens out my skin tone and red spots. I did half of my face to show you kinda how uneven the right side is where there is no foundation and the left side has a coat of foundation.

    Next, since I need to set my foundation with a loose powder. I use MAC's Select Sheer/Loose Powder in NC5 and a E.L.F Studio Powder Brush to apply it. I put on an even layer on my face especially in my more oilier areas.

    After powder comes bronzer! Bronzer is optional, but for me its a dual product. I use my bronzer to not only give me a glowing tanish look, but also as a contour as well! I use MAC's Get-Away Bronze powder blush it's a frost bronzey color. It's limited edition from this past summers To The Beach Collection. Another option I like is NYC's Smoothing Skin Bronzing Face Powder in Sunny. It's a matte bronzer and is pretty amazing/affordable. The brush I use to apply my bronzer is just an Angled Fluffy Brush. I got mine at Meijer.
When you apply bronzer and want to apply it as a contour, suck in your cheeks like a fish and you'll see the area right below your cheek bone. Apply it starting from right in front of your ear moving the brush down in a diagonal line towards your lips. This will make your face appear thinner. Apply bronzer sparingly around the rest of your face to give you a glowing look.  (I will do a full entry later on how to contour your face)

   Now when I have to work and I don't want to wear a lot of makeup, I avoid applying eyeshadows and just stick to eyeliner and mascara. I apply eyeliner to my waterline and curl my eyelashes. After, I apply 2 coats of mascara. I like Maybelline's Eye Studio Gel eyeliner in blackest black and for mascara I love Covergirls Lash Blast Fusion in Black. This mascara doesn't clump and gives me full eyelashes without the false eyelashes. I love it and it works for me but everyones eyelashes are different, just like everyone's hair on their head are different!
Finished Product!


Any questions, comments and concerns, leave a comment below!
Have an amazing day. I'm off to work!

Monday, November 21, 2011

My MAC Eyeshadow Palette Journey Part One

       Earlier this year I kick started my MAC addiction by purchasing an empty pro palette so when I get new eye shadows, I can depot them, and put them in this palette, making them more accessible and convenient. If you're serious about your makeup addiction, especially with MAC, I highly suggest you invest $16 in an empty MAC palette (or other brand palette such as the Z-Palette or UNII Palette) to better organize your expensive collection.                 


       My goal with the whole depoting/palette deal was to get 2 full MAC 15 spot palettes, one with just neutrals and the other with just colors. So far, I have collected 9 neutrals and 6 colorful eyeshadows all from a variety of venues. I've purchased shadows from past collections at the CCO (Cosmetic Company Outlet) which my CCO is located in an Off the 5th-Saks 5th Avenue store in Great Lakes Crossing Mall, in Michigan. I've also purchased just a pan from online (along with the empty palettes). The rest of the colors I've just purchased at a MAC counter in my local Macy's or Nordstrom's. :]
My MAC Eye Shadow Colors with name, type of eyeshadow, and collection

I took the other colors out so when my 2nd palette comes in the mail, I could organize them. This one I tried removing it too many times..and it didn't take so well. So now it's staying there.

    The eye shadows with red asterisks were purchased at the CCO.  The blue asterisk was the eye shadow purchased online in pan form. The rest of the eye shadows were purchased at the MAC counter in my local Macy's or Nordstrom's. I don't purchase all eye shadows at once. I started a little over a year ago, buying one or two eye shadows here and there eventually making it to where I stand now with 15 eye shadows amongst other MAC products I've purchased.

      Oh and once you depot the eye shadows, do NOT throw away the plastic case they come in! You can return them without the pan to any MAC counter for the Back 2 MAC program and with 6 containers (you can return other empty plastic containers like brush cleanser bottles, lip stick bullets, lip glass containers, etc.) and get a FREE full size lipstick of your choice. It's so simple! You're recycling and getting a  free product in return!